Hyperlapse of Bahai Gardens in Haifa – Tutorial
I drove to Haifa this Saturday morning to make a Hyperlapse of Bahai Gardens. And now, I will share my experience.
Table of Contents
What is Hyperlapse?
The easiest way to answer this question is to use the term time-lapse. Time-lapse is a series of photos stitched together into a movie. Time lapses show a long process in a short amount of time. For example, building constructions, cloud movements, sunsets, and even season changes are shown in a short video (usually from a few seconds to several minutes). If you want a video example, check out the time-lapse.
Hyperlapse is a moving time-lapse. While many time-lapses are static, and others have limited movement (usually using a short slider), you pass distances during the shooting of a Hyperlapse. For example, during the shooting of the Bahai Gardens Hyperlapse, I walked at least 515 meters.
Directions for drivers: Link to Waze and Link to Google Maps
Directions for public transport: Link to Moovit
Interactive map of the area:
How I created this Hyperlapse?
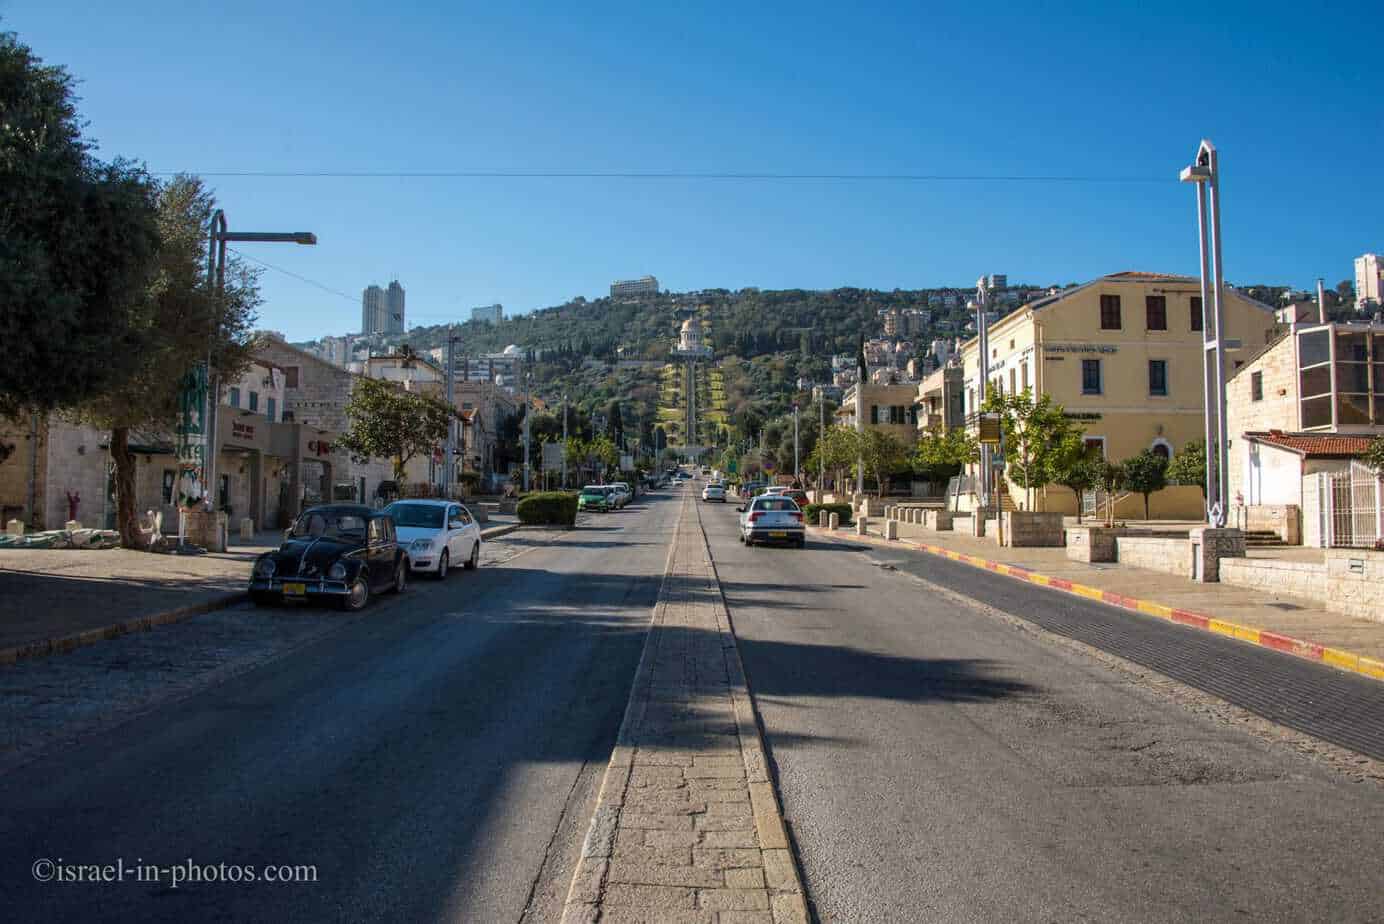
To create a Hyperlapse, you need to move toward or around your subject. I selected Sderot Ben Gurion street in Haifa since it has a clear view of Bahai gardens and Bahai Temple. Also, there is an island separation between car lanes on Sderot Ben Gurion. You can stand on it and move towards the Bahai gardens.
Photography
I set the camera to the manual since I did not want the exposure to be influenced by clouds or shades. The central upper focus point was always pointing to the Bahai Temple, and I used this point for focusing (for all photos). I shot in raw, so the white balance was not an issue.
After setting the camera, the process was quite simple. I took a shot, advanced for about a meter, and took the next photo. And repeated this process 515 times. When I started taking steps forward, I used the pavement stones for distance metering (I skipped two stones each time). But after some time, I noticed that the size of the stones started to vary drastically. So, I made one step between every two following photos.
Also, you can see a slight jump in the middle of the video. This is because there was a junction, and I had to skip about 10 meters.
The process was quite tedious. I took 515 shots, and it took me about 75 minutes.
Post Processing
The next step is the editing process. Editing one photo and synchronizing those changes is simple and does not take much time. Stitching all photos into a video is where things can be tricky.
Since the video created from the photos is quite shaky, in many cases warp stabilizer in After Effects will not stabilize the video. In such cases, you have to stabilize the video manually. This means you must go frame after frame and select and move tracking points to their correct position. This is what I had to do for this Hyperlapse. The manual stabilization took me more than an hour.
After applying manual stabilization, I added a warp stabilizer. Then also added a short intro and a frozen frame at the end. And this is the result:
It took about four hours to make a 15-second clip. It was an interesting experience, but I probably will not create another Hyperlapse soon. However, with additional expertise, the four hours will become a shorter period.
What do you think? Did you like the result? Do you do Hyperlapse videos? Tell us in the comment below.
Stay Tuned!
For additional attractions nearby, see Haifa and for similar posts, visit Personal Projects.
Additional Resources
Here are several resources that I created to help travelers:- Trip Planner with Attractions and Itineraries is the page that will help you create your perfect travel route.
- What is the Best Time to visit Israel? To answer this question, we will consider the weather, prices, holidays, festivals, and more.
- Information and Tips for Tourists to Israel will answer the most common questions tourists have about Israel (including safety, passports, weather, currency, tipping, electricity, and much more).
- Israel National Parks and Nature Reserves include a complete list, top ten, map, tickets (Israel Pass, Matmon, combo), and campsites.
- If you are looking for things to do, here are the pages for Jerusalem, Tel Aviv, Haifa, Sea Of Galilee, Akko (Acre), Eilat, Nazareth, Safed (Tzfat), and Makhtesh Ramon.


