Everything you need to know about Photo Restoration
In this post, I’ll cover Photo Restoration both for those who want to do it by themselves and for those who want to hire somebody to do the Photo Restoration for them. If you are only interested in is pricing then skip to the end of this post.
Let’s start from planning the shot and move on:
Table of Contents
What lighting should I use for Photo Restoration?
When taking pictures for Photo Restoration your goal is to evenly light a photo. This way you will get the max amount of detail. No hard lighting and no hot spots. And if you want, you can always add contrast in post process.
How to get even lighting? You can either use big softboxes (one each side), a flash bounced off a ceiling, or nothing. Wait, what do you mean by nothing? Well, in any case, you will be using a tripod and shutter release (or a self-timer). Thus if you don’t mind waiting longer you can go to an evenly lit scene and photograph there without any lighting. For example, you can go to an open shade or place the photo next to a big window that’s facing the North.
In any case, even if you are not using lighting equipment, make sure there are no hot spots and no reflections on the photograph. And of course no shadows, both from you or your gear.
Required Equipment
As mentioned previously you will need a tripod and shutter release cable. Regarding the camera body, there are no strict limits, a medium level DSLR will be enough. And lastly the lens: wide-angle lens creates distortion. Thus a medium-range lens, like the nifty fifty, will suit.
Most smartphones have wide-angle lenses, therefore they will introduce barrel distortion. For that reason, I do not recommend taking a picture with your phone. DSLR will do a better job.
Some people use scanners to get a digital version of the photo. I don’t have enough experience with scanners and can’t tell you what will produce a better result (scanner or camera). But, with both of them, you can get good results (more than enough for most purposes).
Photo Restoration Retouching
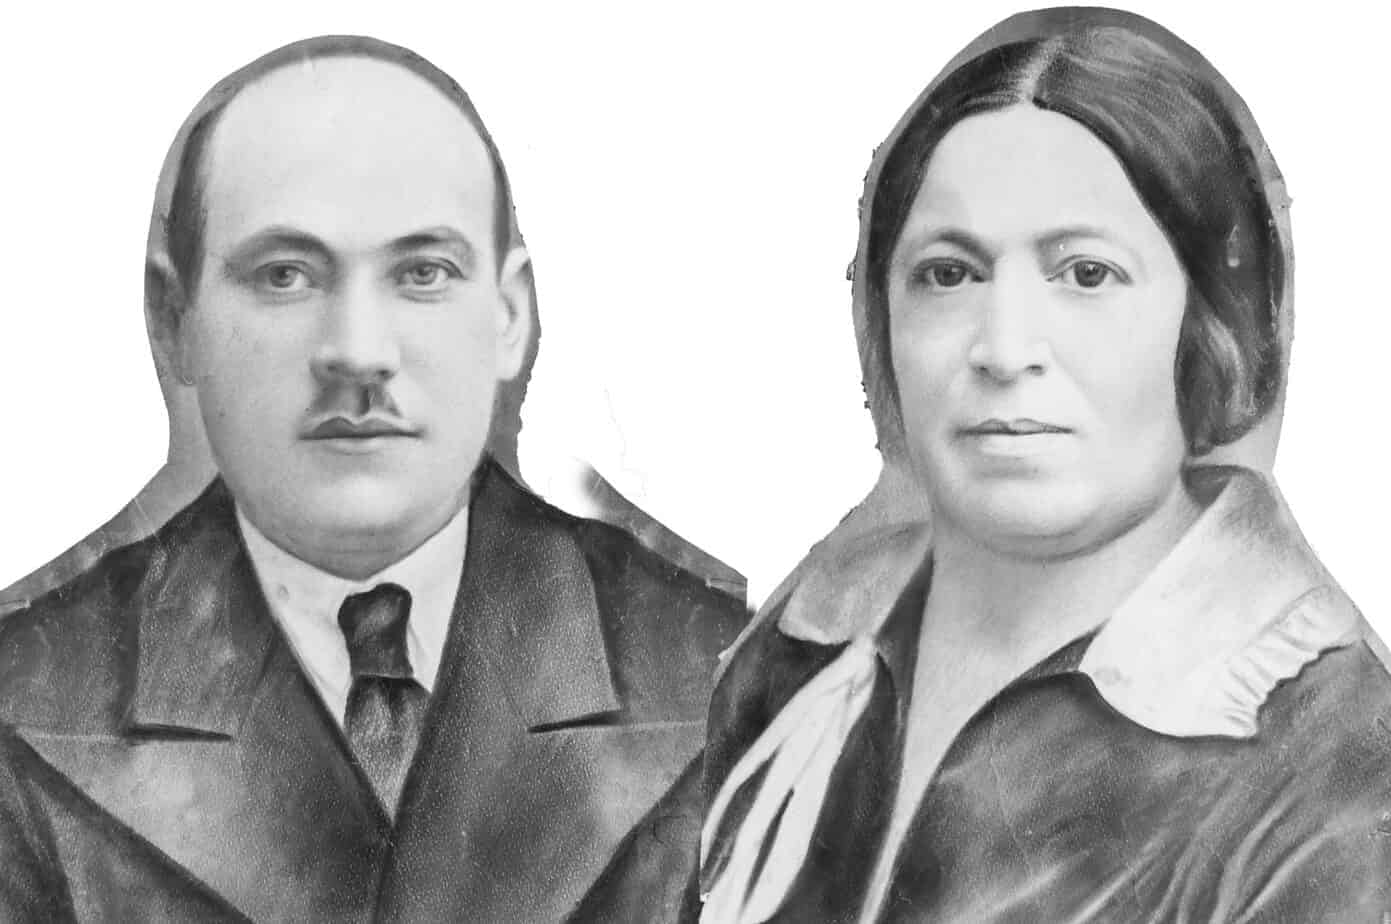
Let’s start with a before (*) and after photo:
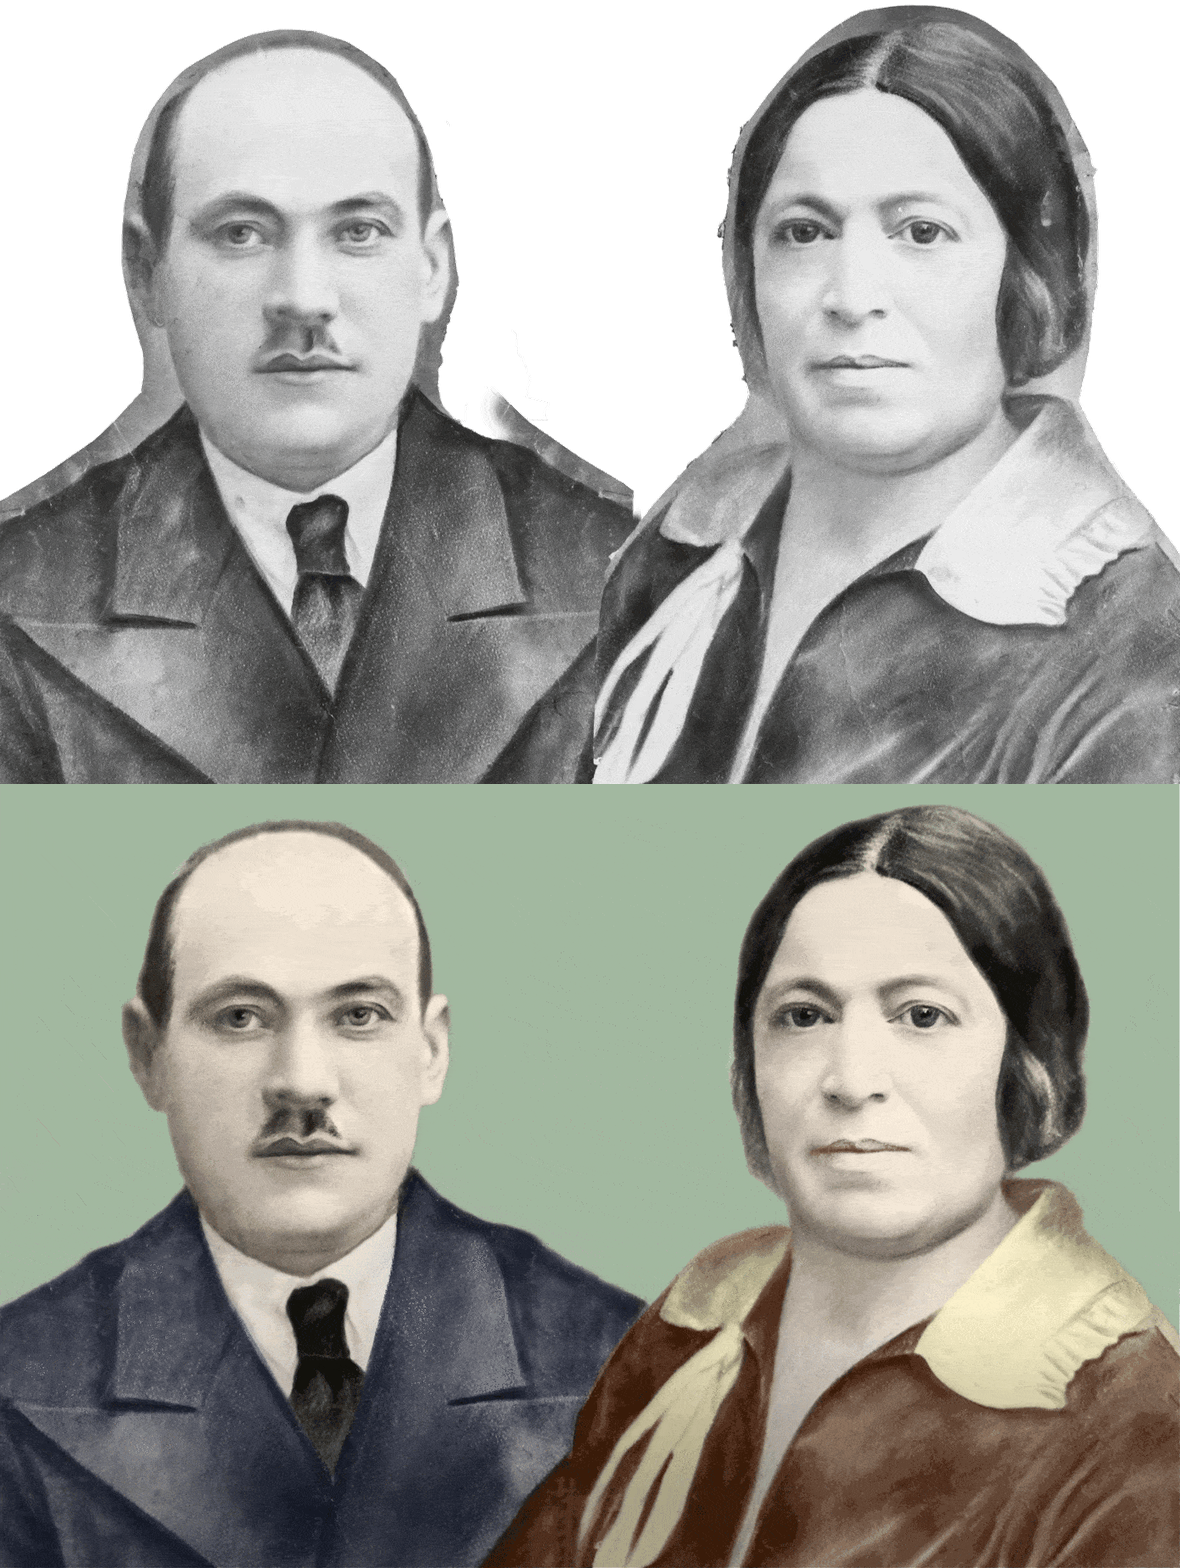
(*) Actually the before was different. Over the years this photo was cut in two and each part was glued to a different page. Each page presented the family tree of that spouse. Thus in order to get to the before picture, I had to cut each one of them from their background and place in one image:
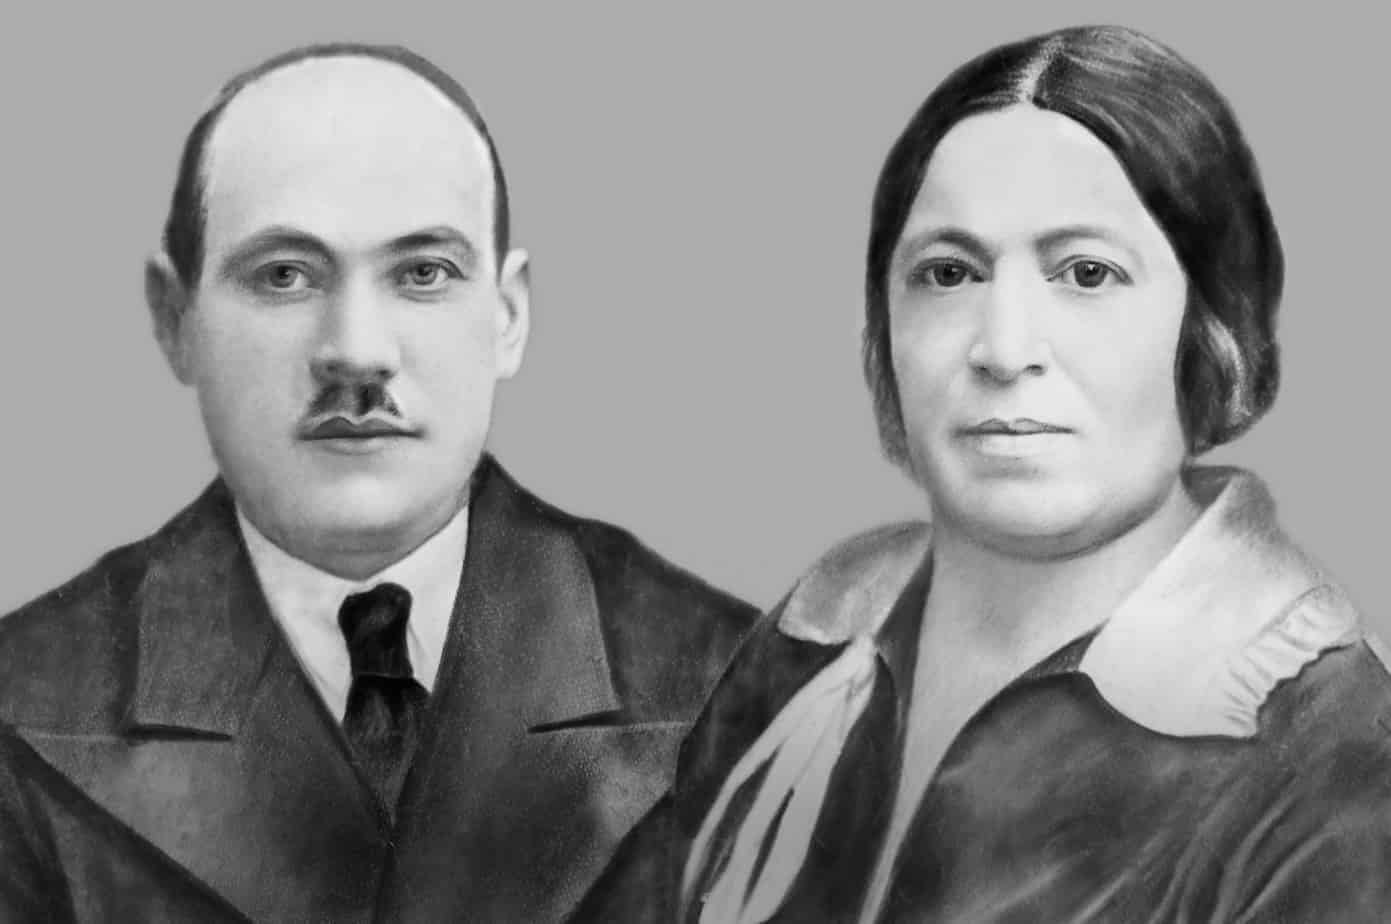
This is the B&W result:
And after coloring:
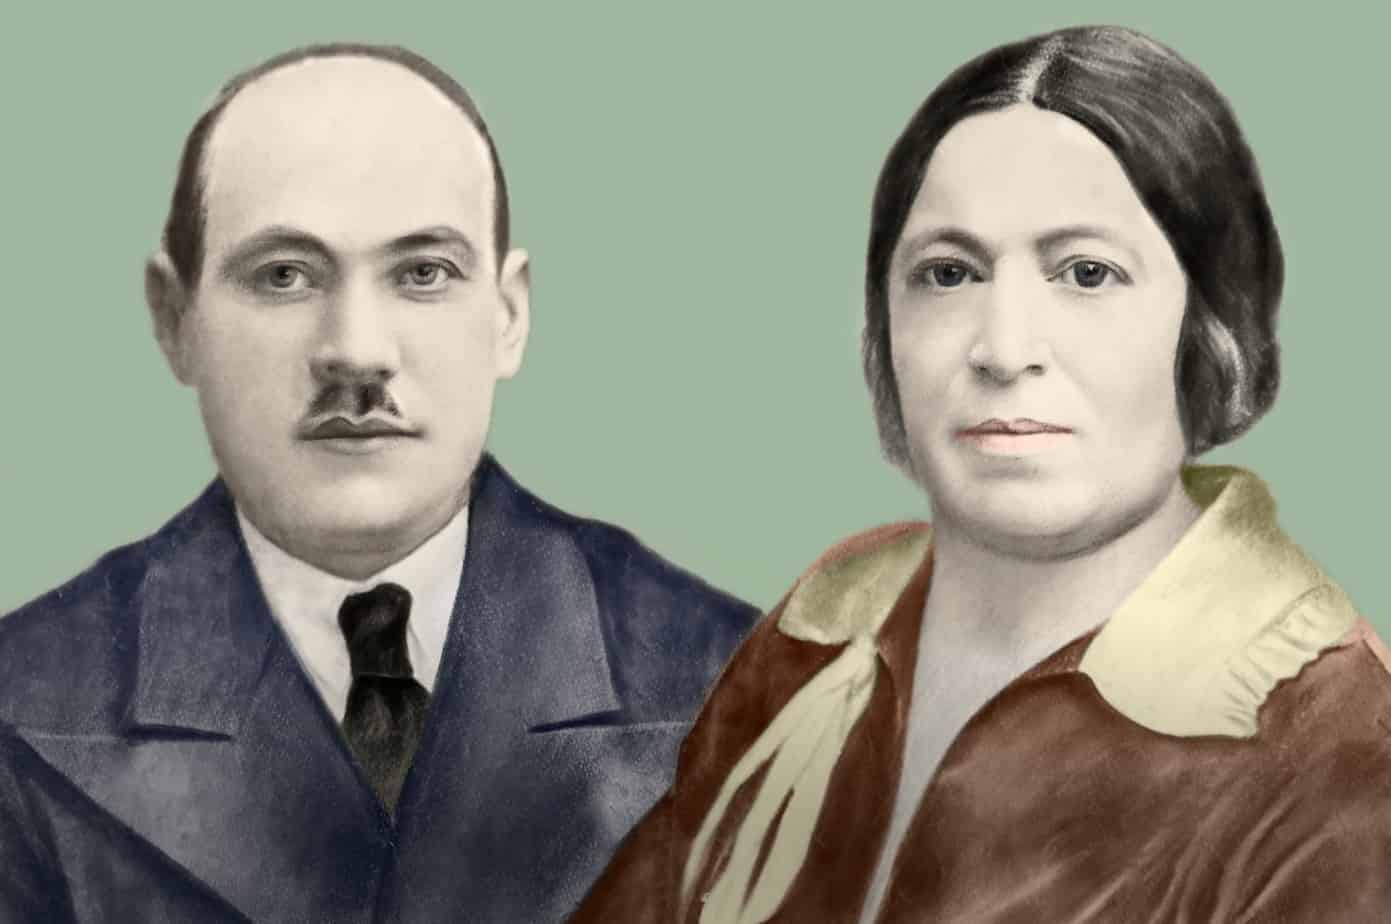
In most cases when ordering Photo Restoration coloring won’t be done, but for the purpose of this post, I decided to add colors.
How do you decide on colors? Well, that’s individual, but when looking at B&W you know where light/dark colors were. That’s your starting point. Next, I used the color wheel. The color wheel shows you which colors look good together. There are three main colors here: the jacket, the dress, and the background. Thus I used Triad color rule to find three colors that will look good together. Of course, later on, I did additional work like warming all colors and decreased saturation, so the colors were modified a bit.
I wanted to consult another photographer, my Dad, and here is his version:
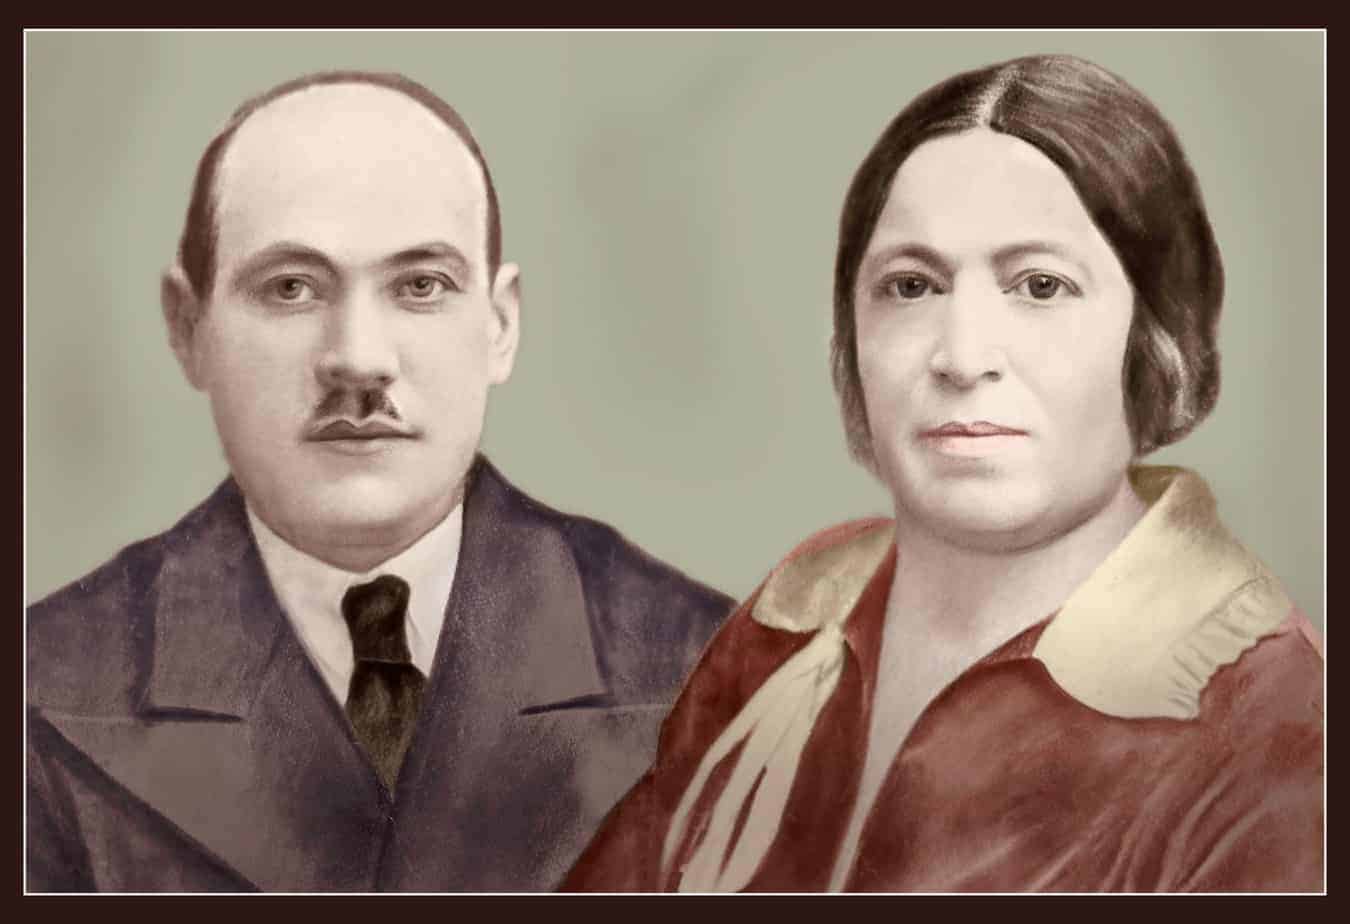
I think that with the frame and extra warming this image looks better.
Regarding retouching, there are different programs, but Photoshop is by far the most popular and has the most resources online. So if you want to make such work by yourself you will need to purchase and master Photoshop.
Many different tools are used in Photo Restoration, here are some of the most popular ones: spot healing brush with content-aware, clone stamp tool, various selections (quick selection, pencil tool), curves, layers, masks …
Pricing
The photo Restoration process includes taking the photos and then post-processing them. In most cases, the prices are per retouching a photo. If you want a photographer to take the pictures as well (either by visiting you or by sending him your album) that will be an extra.
From now on, the mentioned prices refer to only retouching and without coloring.
There is another problem. Retouching depends on the condition of the photo. Thus in many cases, there are three prices: one for light retouching, one for mediocre post-processing, and one for extensive retouching. If we are talking about prices in Israel then the range is usually around 30-250 NIS per photo. And in most cases, it will be 60-150 NIS per photo (you can say on average about 100 NIS per photo). You can say it’s not cheap, but Photo Restoration takes time. Even for a professional, retouching a photo that’s in bad condition can take half a day.
I hope you enjoyed this post and if you have any questions/suggestions you can contact me or write them in the comments below.
Additional Resources
Here are several resources that I created to help travelers:
- Trip Planner with Attractions and Itineraries is the page that will help you create your perfect travel route.
- What is the Best Time to visit Israel? To answer this question, we will consider the weather, prices, holidays, festivals, and more.
- Information and Tips for Tourists to Israel will answer the most common questions tourists have about Israel (including safety, passports, weather, currency, tipping, electricity, and much more).
- Israel National Parks and Nature Reserves include a complete list, top ten, map, tickets (Israel Pass, Matmon, combo), and campsites.
- If you are looking for things to do, here are the pages for Jerusalem, Tel Aviv, Haifa, Sea Of Galilee, Akko (Acre), Eilat, Nazareth, Safed (Tzfat), and Makhtesh Ramon.

